

Updated April 2020
The Polaroid OneStep CloseUp 600 is one of the most common vintage box-type Polaroid cameras out there, especially when you take in account the many, many slight variants of the camera like the Job Pro. This guide shows you how to use your vintage OneStep CloseUp, and you can also use this guide for many of the other countless box-type fixed-focus 600 cameras out there.
Polaroid’s naming conventions are super confusing, so keep in mind this camera is different than the classic OneStep SX-70 of old or the new OneStep2 that Polaroid Originals (now rebranded to ‘Polaroid’) has recently introduced.

You’ll need Polaroid Originals 600 type film to operate the camera.
What Film Does the OneStep CloseUp Use?
Before we get started, we need to make sure you have the film you’ll need to operate the camera. The Polaroid OneStep CloseUp uses 600 type Polaroid film, which is the newer version of the two classic ‘square’ Polaroid frames.
Polaroid discontinued 600 type film way back in 2008, but a company called the Impossible Project rose up and started making new film for the camera. In 2017, the Impossible Project renamed itself ‘Polaroid Originals,’ then to simply ‘Polaroid,’ and continues making new film for vintage Polaroid cameras.
New Polaroid film for 600 cameras is what you’ll need to run the camera. The Polaroid OneStep Closeup is powered by a small battery in the film cartridge itself, so it won’t even turn on until you load a new pack of film. I’ll go over how to load the camera below, but before we get started, make sure you have a fresh pack of film in hand.
You can order new Polaroid film from Amazon as well as directly from Polaroid (which is where I get mine, you never know the conditions the film is stored in by third parties).
Fuji Instax film, and Polaroid i-Type, SX-70 (without an ND adapter), and Spectra will not work with this camera. Also, old packs of vintage Polaroid film will likely have a dead battery. The film is still good, but you’ll need to do a battery transfer, and are still going to need a fresh pack of film to do so.

When the front flap flashbar thingamajig is flipped up, the camera is on.
Turning the Camera On
The chunky flash bar unit on the front of the camera essentially acts as the ‘on/off’ switch. Flip up the entire unit to reveal the lens, and the camera will automatically ‘turn on.’
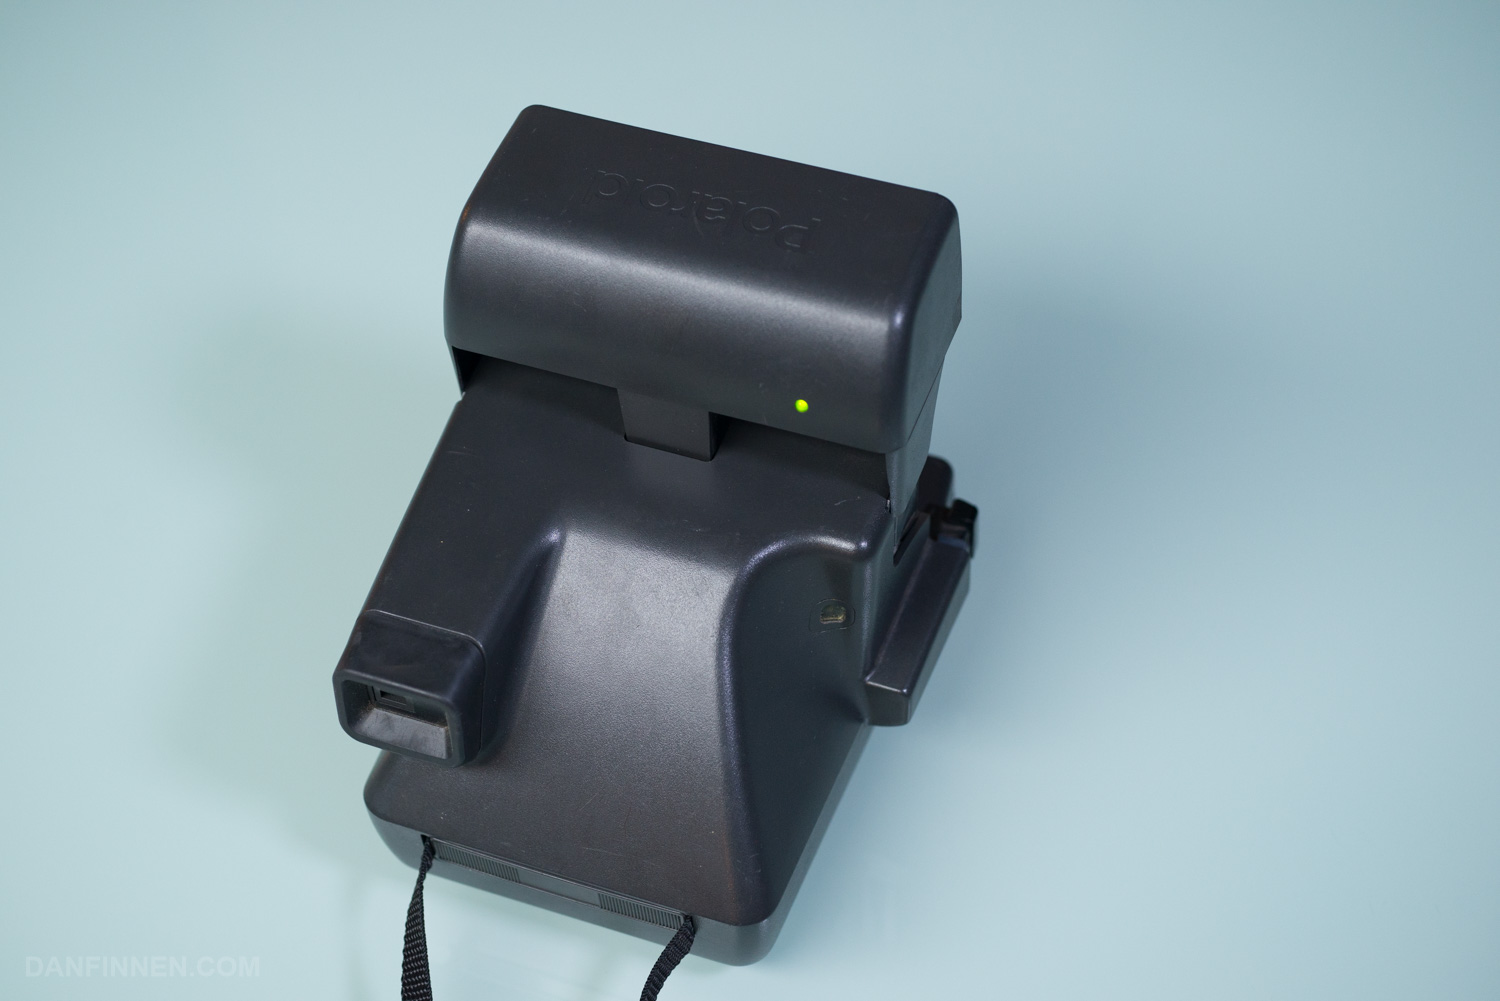
The green light lets you know the camera is ready to shoot.
If the camera is loaded with a fresh cartridge, the LED light will glow, showing the status of the flash unit. If the camera is not loaded with film, or the battery in the film cartridge is dead, the LED will not light up.
Identifying Parts of the Camera
This picture identifies all of the primary buttons this camera has. There’s not many to worry about, as this camera is delightfully simple to use.


The shutter is the large switch on the side of the camera. When the camera is closed, it won’t do anything, but when it is on it will trigger the flash and take a shot.
Some 600 box type cameras like the Polaroid OneStep Closeup have an alternate shutter switch that allows the camera to fire without using flash. However, I don’t recommend using it, as the pictures that come out of this tend to be blurry and poorly exposed.
Loading Film
To load film into the OneStep Closeup, push forward on the lever on the side of the camera to open the film compartment.
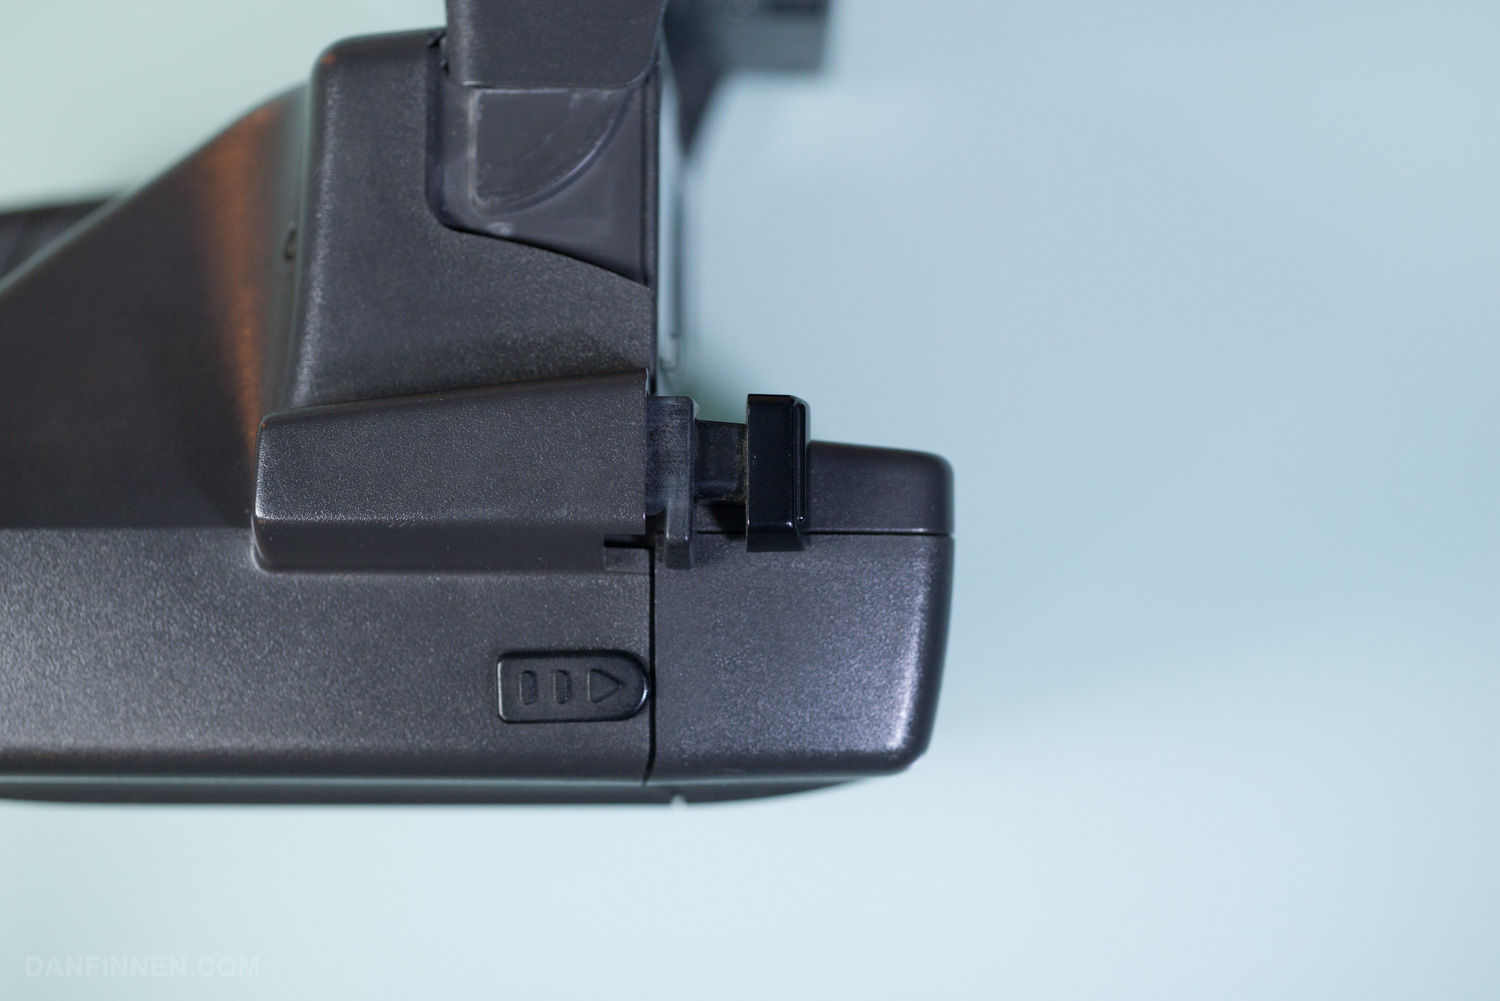
The little lever towards the bottom of the camera opens the film compartment if pushed forward.
Remove the old pack of film (if there is one) by pulling it out by the tab attached to the cartridge.
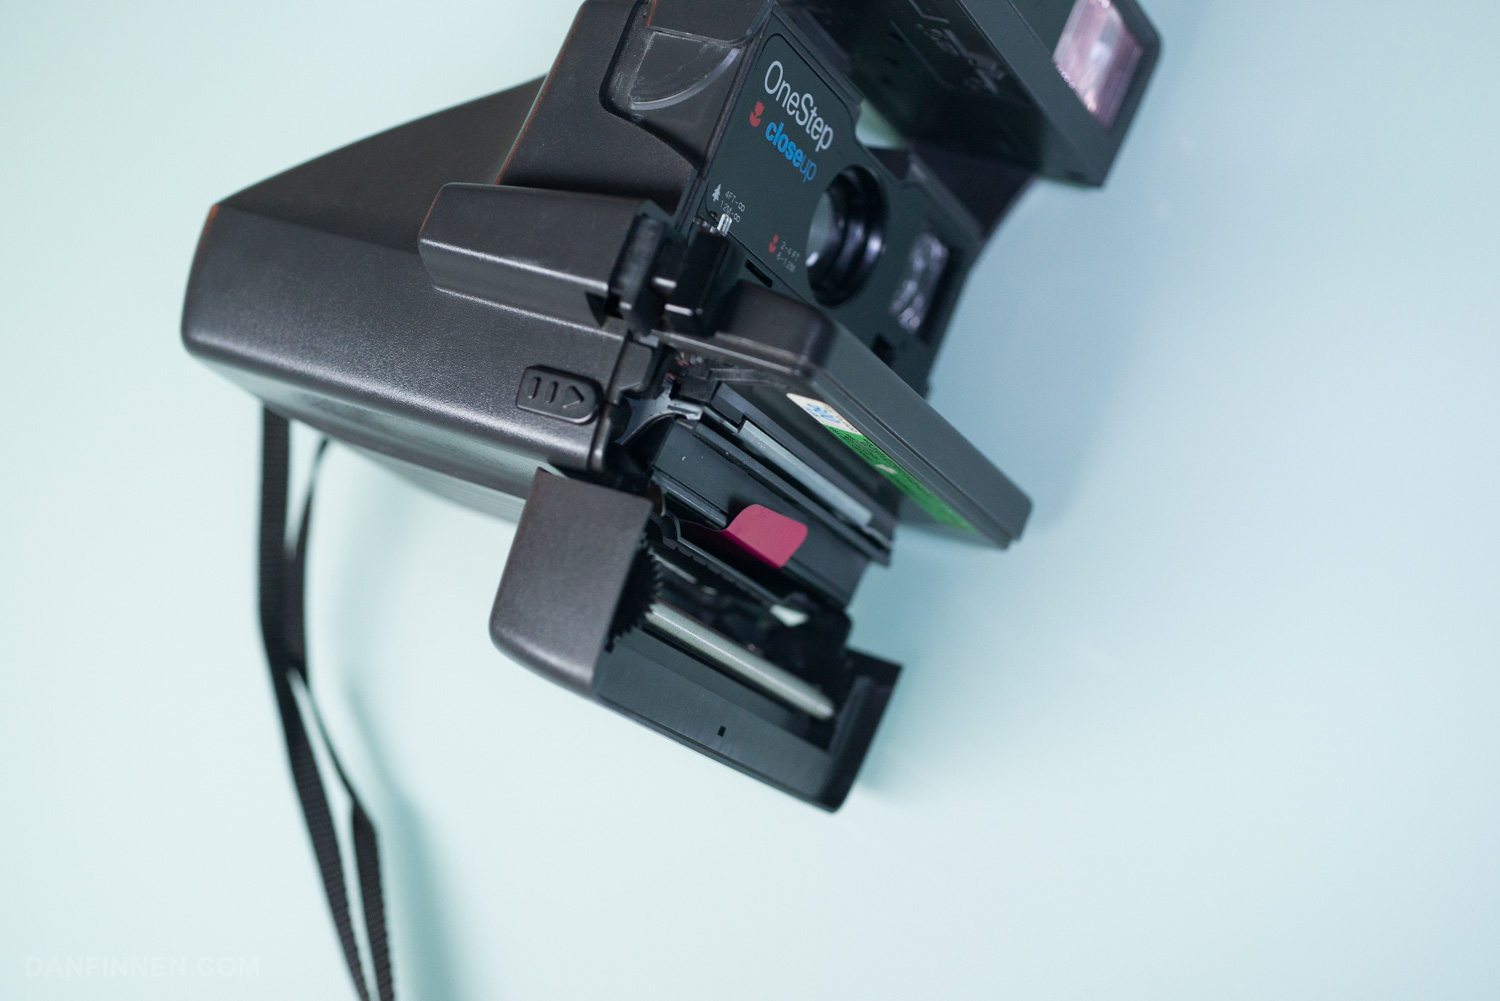
The pink tab can be other colors, but there’s always a tab that you can pull the old cartridge out with.
Insert a new pack of film by pushing it in through the same slot. The ‘wide’ end with the plastic lip should face out, with the darkslide facing up and the metal contacts facing down.
The ejected darkslide lets you know the camera is now ready to shoot a new pack of film. If the darkslide does not come out automatically there may be a problem.
Once the film is fully inserted, you’ll be able to shut the film compartment. As soon as it locks into place, the camera should eject a darkslide out the front. This lets you know that the film pack works and the Polaroid OneStep Closeup is ready to go.
Taking a Picture
After you turn the camera on, simply wait for the LED to turn green to signify that the flash is charged and ready to use. Look through the viewfinder to compose, and hit the shutter button to take a picture.
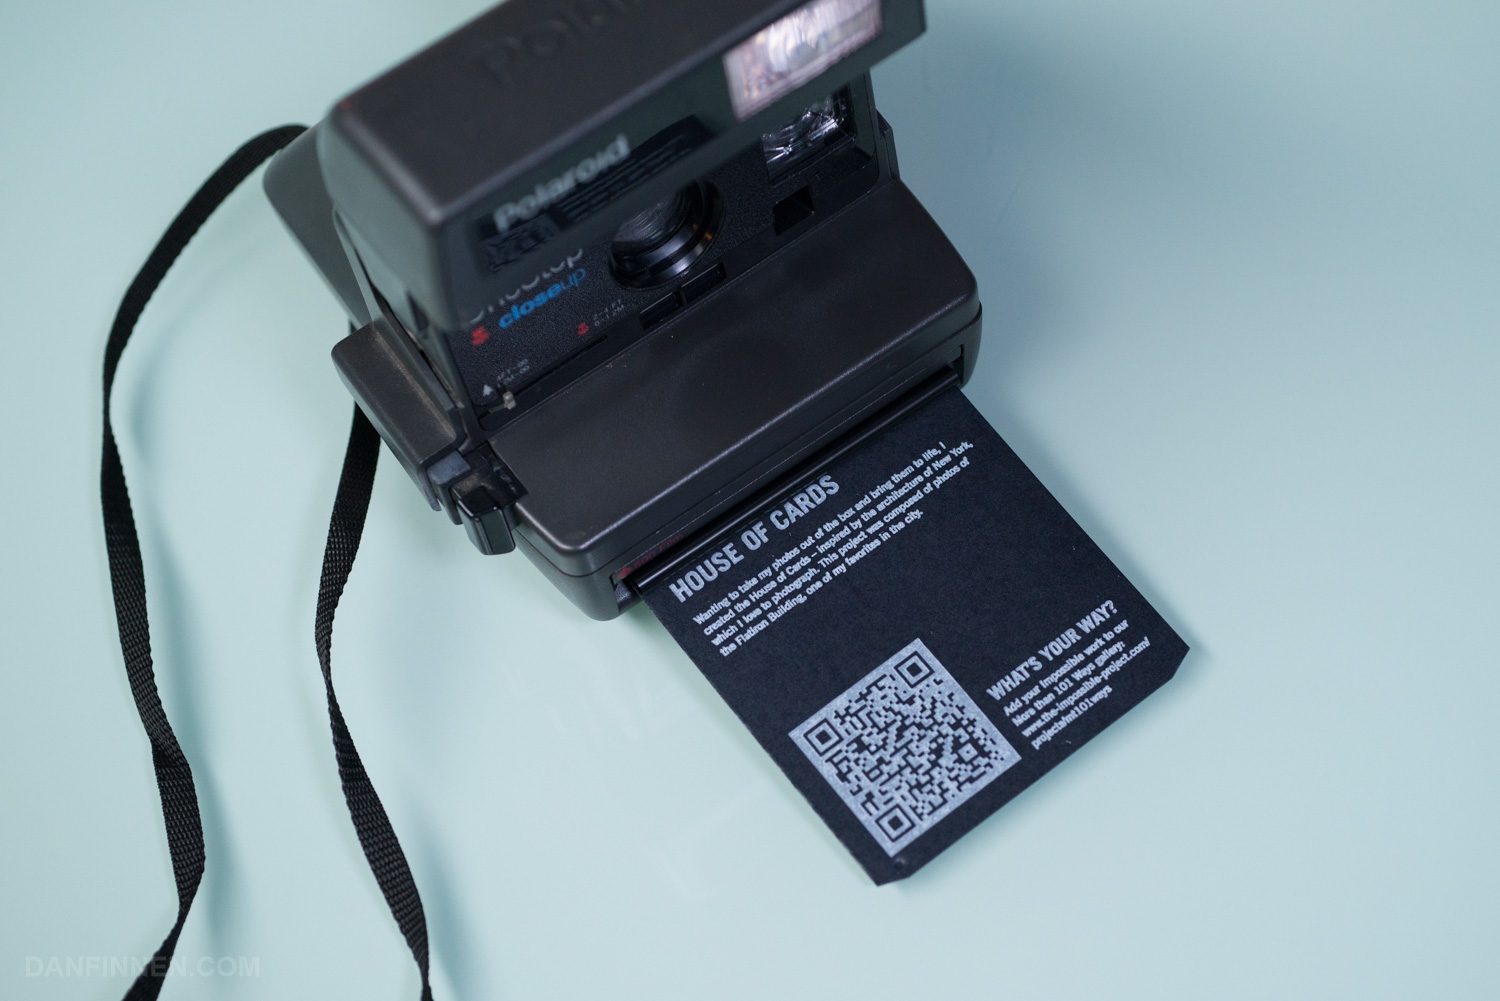
The image will be ejected through the slot on the front of the camera. For best contrast, make sure the image is hidden away from sunlight as it develops. The image is most sensitive to light when it initially pops out of the camera, so putting it inside a pocket or just flipping it upside down always helps.
Temperature also affects Polaroid Originals film, so if you’re shooting in cold weather, it often helps to put a developing image in a warm pocket.

The plastic switch below the camera name is how you flip on the closeup adapter, which is in use in this picture. As you can tell, the plastic, cloudy glass is going to do your picture no favors.
Using the ‘Closeup’ Adapter
The OneStep CloseUp has a ‘closeup’ adapter that ostensibly should allow the fixed-focus lens to focus on something at selfie distance. However, the plastic adapter leaves much to be desired. It ends up fogging up the image just as much as it helps, and I recommend not using it. If you need to shoot a lot of subjects that are close to the camera, I recommend picking up either an autofocus-capable vintage camera like the Impulse AF or the new OneStep+ which has a similar ‘close focus’ lens that actually works.
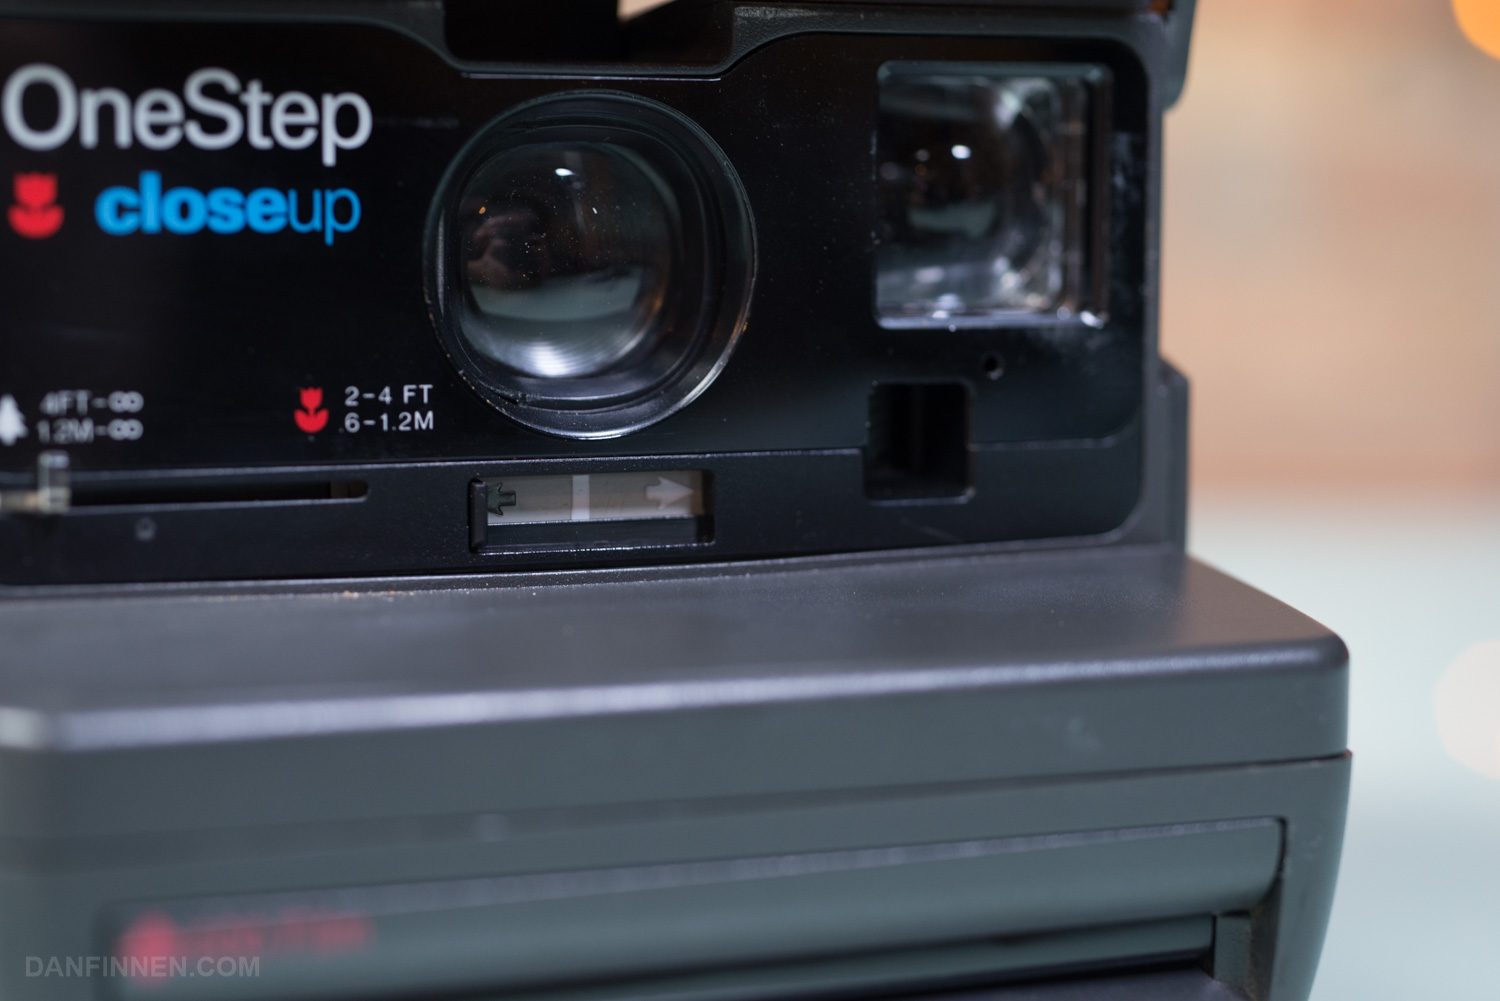
In this photo, the exposure compensation switch is set to darken.
Next Steps
That’s it! You got a picture. After it finishes developing, which takes anywhere between five and thirty minutes, depending on the film, you can display or scan it.
If the photo is over or underexposed, you can use the exposure compensation lever under the lens to adjust for the next image. Simply push it towards the darker side to darken the image, or the lighter side to lighten the image.
I have a whole article how to scan your Polaroid images, and once you get them digitized, you can share them online!
Good luck and happy shooting!
If you enjoyed this article and want to stay up to date with everything happening in the world of instant film photography, check out my monthly newsletter!
You must be logged in to post a comment.